How I Edit My Instagram Photos

A lot of people have been commenting on my photos and asking what I use to take/edit my photos so I thought I'd take the time to share that with you all. I'll do a post on my camera and computer editing another day for blog photos, but for today it's just about photos for Instagram!
I am no pro when it comes to editing photos or Instagram at all, but I've been rather content with my posts as of late. Finding your groove with your Instagram feed can take some time, but my one advice? Be you. Don't try and make your feed look like someone's else, use your creativity to create one that is unique to you.
The Main Two: I have an iPhone 6s and use the app VSCO to edit all my photos. VSCO itself is free and there are different "series" that you can choose from, some free and some that cost a small amount. If you'd like to see how I make the left photo become the right photo, keep reading!


Blogging does not require a fancy camera of any sort, and if you're just starting out your phone and some free editing apps are all you need! I highly recommend taking photos in natural lighting as most others will say, using an overhead ceiling light tends to add a yellow-ish cast over your photos which is not all so flattering.
A good chunk of my IG photos are taken on my phone. I'll usually snap away on my DSLR for my blog photos, and sometimes take a few extra shots on my phone. I'm fortunate enough to have Apple products all around so sending photos from one device to another is also a piece of cake.


My absolute favorite filter is A6 (there, I said it - the secret is out) ! The A "analog / aesthetics" series really focuses on softening a photo and adjusting the tones. This adds a rather bright white yet soft haze to the photo.
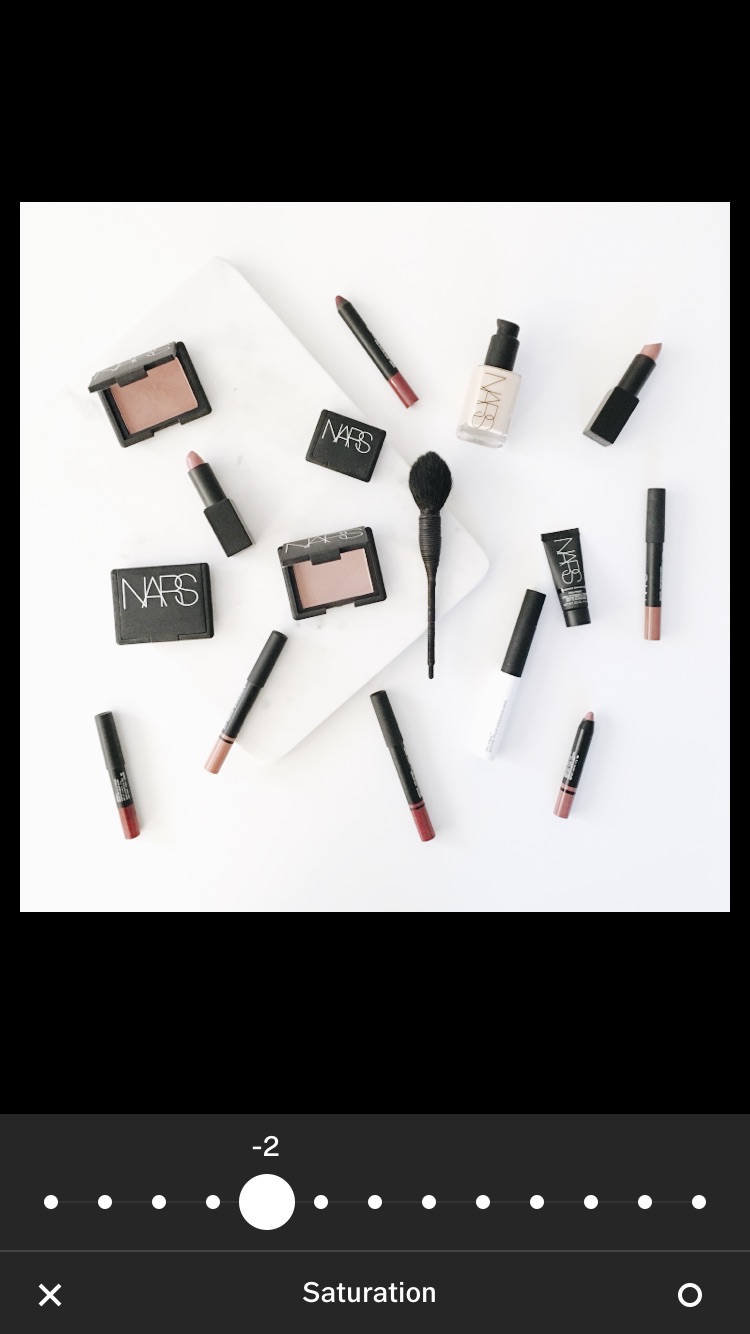
Depending on the initial shot, you may want to lower the level from 12 to something lower, maybe 9-10. I'll usually go in and brighten the photo after this, but the key really isn't to brighten so much that the products look washed out. Some gals are pros at getting that crisp fluid white background, but I personally am crap at that. To help soften up any glares or harsh colors I'll usually lower the saturation 1-3. This'll also help make the background appear whiter and lighter in color.
And to finish off the photo, increase the sharpen/clarity tools to make each item stand out all the bit more. Final step is going in to bump the contrast just to give each product that little extra boost of color and crisp up the background.
And that's all I do! It's rather simple and editing on VSCO actually allows you to see a grid which gives you a rather good idea of what your IG feed will end up looking like.


I hope that this post was helpful to some of you, especially any of you getting into the swing of blogging! Let me know some of your photo editing tricks! Please leave your links on Instagram so I can go through and check out your feed!
